
18” X 18” Encausticbord
My first experience with Encausticbord by Ampersand.
It is an 18” X 18” X 1-1/2” panel
First impression after unwrapping it?
I love the feel of the texture of the surface. The size feels right, and the rigid surface will be a delight. After the first two layers - collage and graphite mark making, it is my favorite.

Finishing touches. Just a few tweaks here and there. A little additional collage, a little more light blue, and a few more pops of Manganese Blue.
I will view this for a few more days, but if nothing else calls to me, I will call it done.
Super happy I finally brought a square piece to the finish line.

Almost there. I mixed up this lovely green brayered on with my small brayer, and the bits of old book page that showed through. Added in my favorite stencil for some depth. Then those random pops of blue in the green field.
Really love this green and blue working together. And I was able to keep the quiet area that I really loved in the upper left corner.

I had to tone this down a bit and add some unity. It seemed too splotchy before this layer.
Also added that strong black line. I could see it even before it was there.

I know that a lot of people like the blue that was in the last update of this one, but I had to tone the blue down. I was torn for a bit about adding the Raw Umber High Flow acrylic glaze to the peach-tan or to the blue, but I think I made the right choice adding it over the blue.
Also added one bit of collage, and scraped back a bit of the paint on the right upper rectangle of peach-tan. It was too solid before. Also took some rubbing alcohol to that rectangle to wear off a bit more paint.
Now it truly will rest for a while.

November 23, 2021
Still fiddling with this never ending square. I have decided to just start dating the days I photograph the piece, because I have lost count of how many layers.
I feel this piece is on the verge of taking a turn, hopefully a good turn. Will probably sit with it for a while now and let it speak to me.
Michael Shemchuk just opened his 2022 workshop schedule. I am considering his virtual workshop called Squared. Even though squares are a huge challenge for me, I think it is the photographer in me that is use to the landscape or portrait rectangle, I feel called to create on the square shape.

Some days sketching just feels good, and a much needed break from trying to wrangle a painting into something.
Then the sketch inspired trying something out on the actual painting. There are bits I like, but overall too busy for my personal style.

Went a bit crazy with these layers and covered a lot of stuff up. It was looking too pretty for me before.

Layer 9. Changed the things that were bugging me. The perfect leaf in the upper left, and the brown blob in the lower leaf corner.
I feel this one is close, but it feels a bit too clean to me, needs some grunging up.

Layer 8. It is getting so much closer to finished now. I am really happy how the blending in the top portion is coming along. The big leaf has to go though, it is too distracting to me.
Also have been adding some fine pencil lines, and those are making me really happy.
The brown blob in the lower left hand corner also has to be transformed. Maybe another sanding, I will see how I feel once those changes are made.

Layer 7 and post sanding. The bottom portion is taking shape nicely, the top part less so. This is where I usually struggle, how to blend the parts.
Still all acrylics, both fluid and heavy body. Interestingly, I don’t mind the feel of the acrylics on the Encausticbord.

Layer 6. Added some bolder colors with this layer. Also the compass stamped on artist strength tissue paper and adhered with watered-down Gloss Medium. A couple more Gelli-plate printed papers and some additional graphite marks.
Now it is time for its first sanding with the electric sander.

Layer 5. Good progress on this one with layer five.
A lot of the color needed calming down, so mixed tiny bits of Burnt Sienna and Ivory Black with Titanium White to create soft off-whites and peaches. Added in some straight Manganese Blue and then a green with Burnt Sienna and Manganese Blue.
I thought there would be a magic number of layers when it would be time to switch to oil and cold wax, but it isn’t the number, it is the magic feel that says it is time.

Layer 4. No major changes with this layer.
Added some Manganese Blue as a glaze layer with Satin Glazing Liquid.
Next layer I need to make bigger changes.

Layer 3. This layer started with acrylic ink in Olive Green by Daler Rowney, which I liked. Then I added some fluid acrylics mixed - Manganese Blue, Burnt Sienna, Titianium White, and Carbon Black. Struggles here - hard to get a good read on the fluids alone mixed in a cup and they dried so frustrating fast.
About the only thing I like at this point is the white marks which are Sennelier Oil Pastel.
Adjustments need to be made.

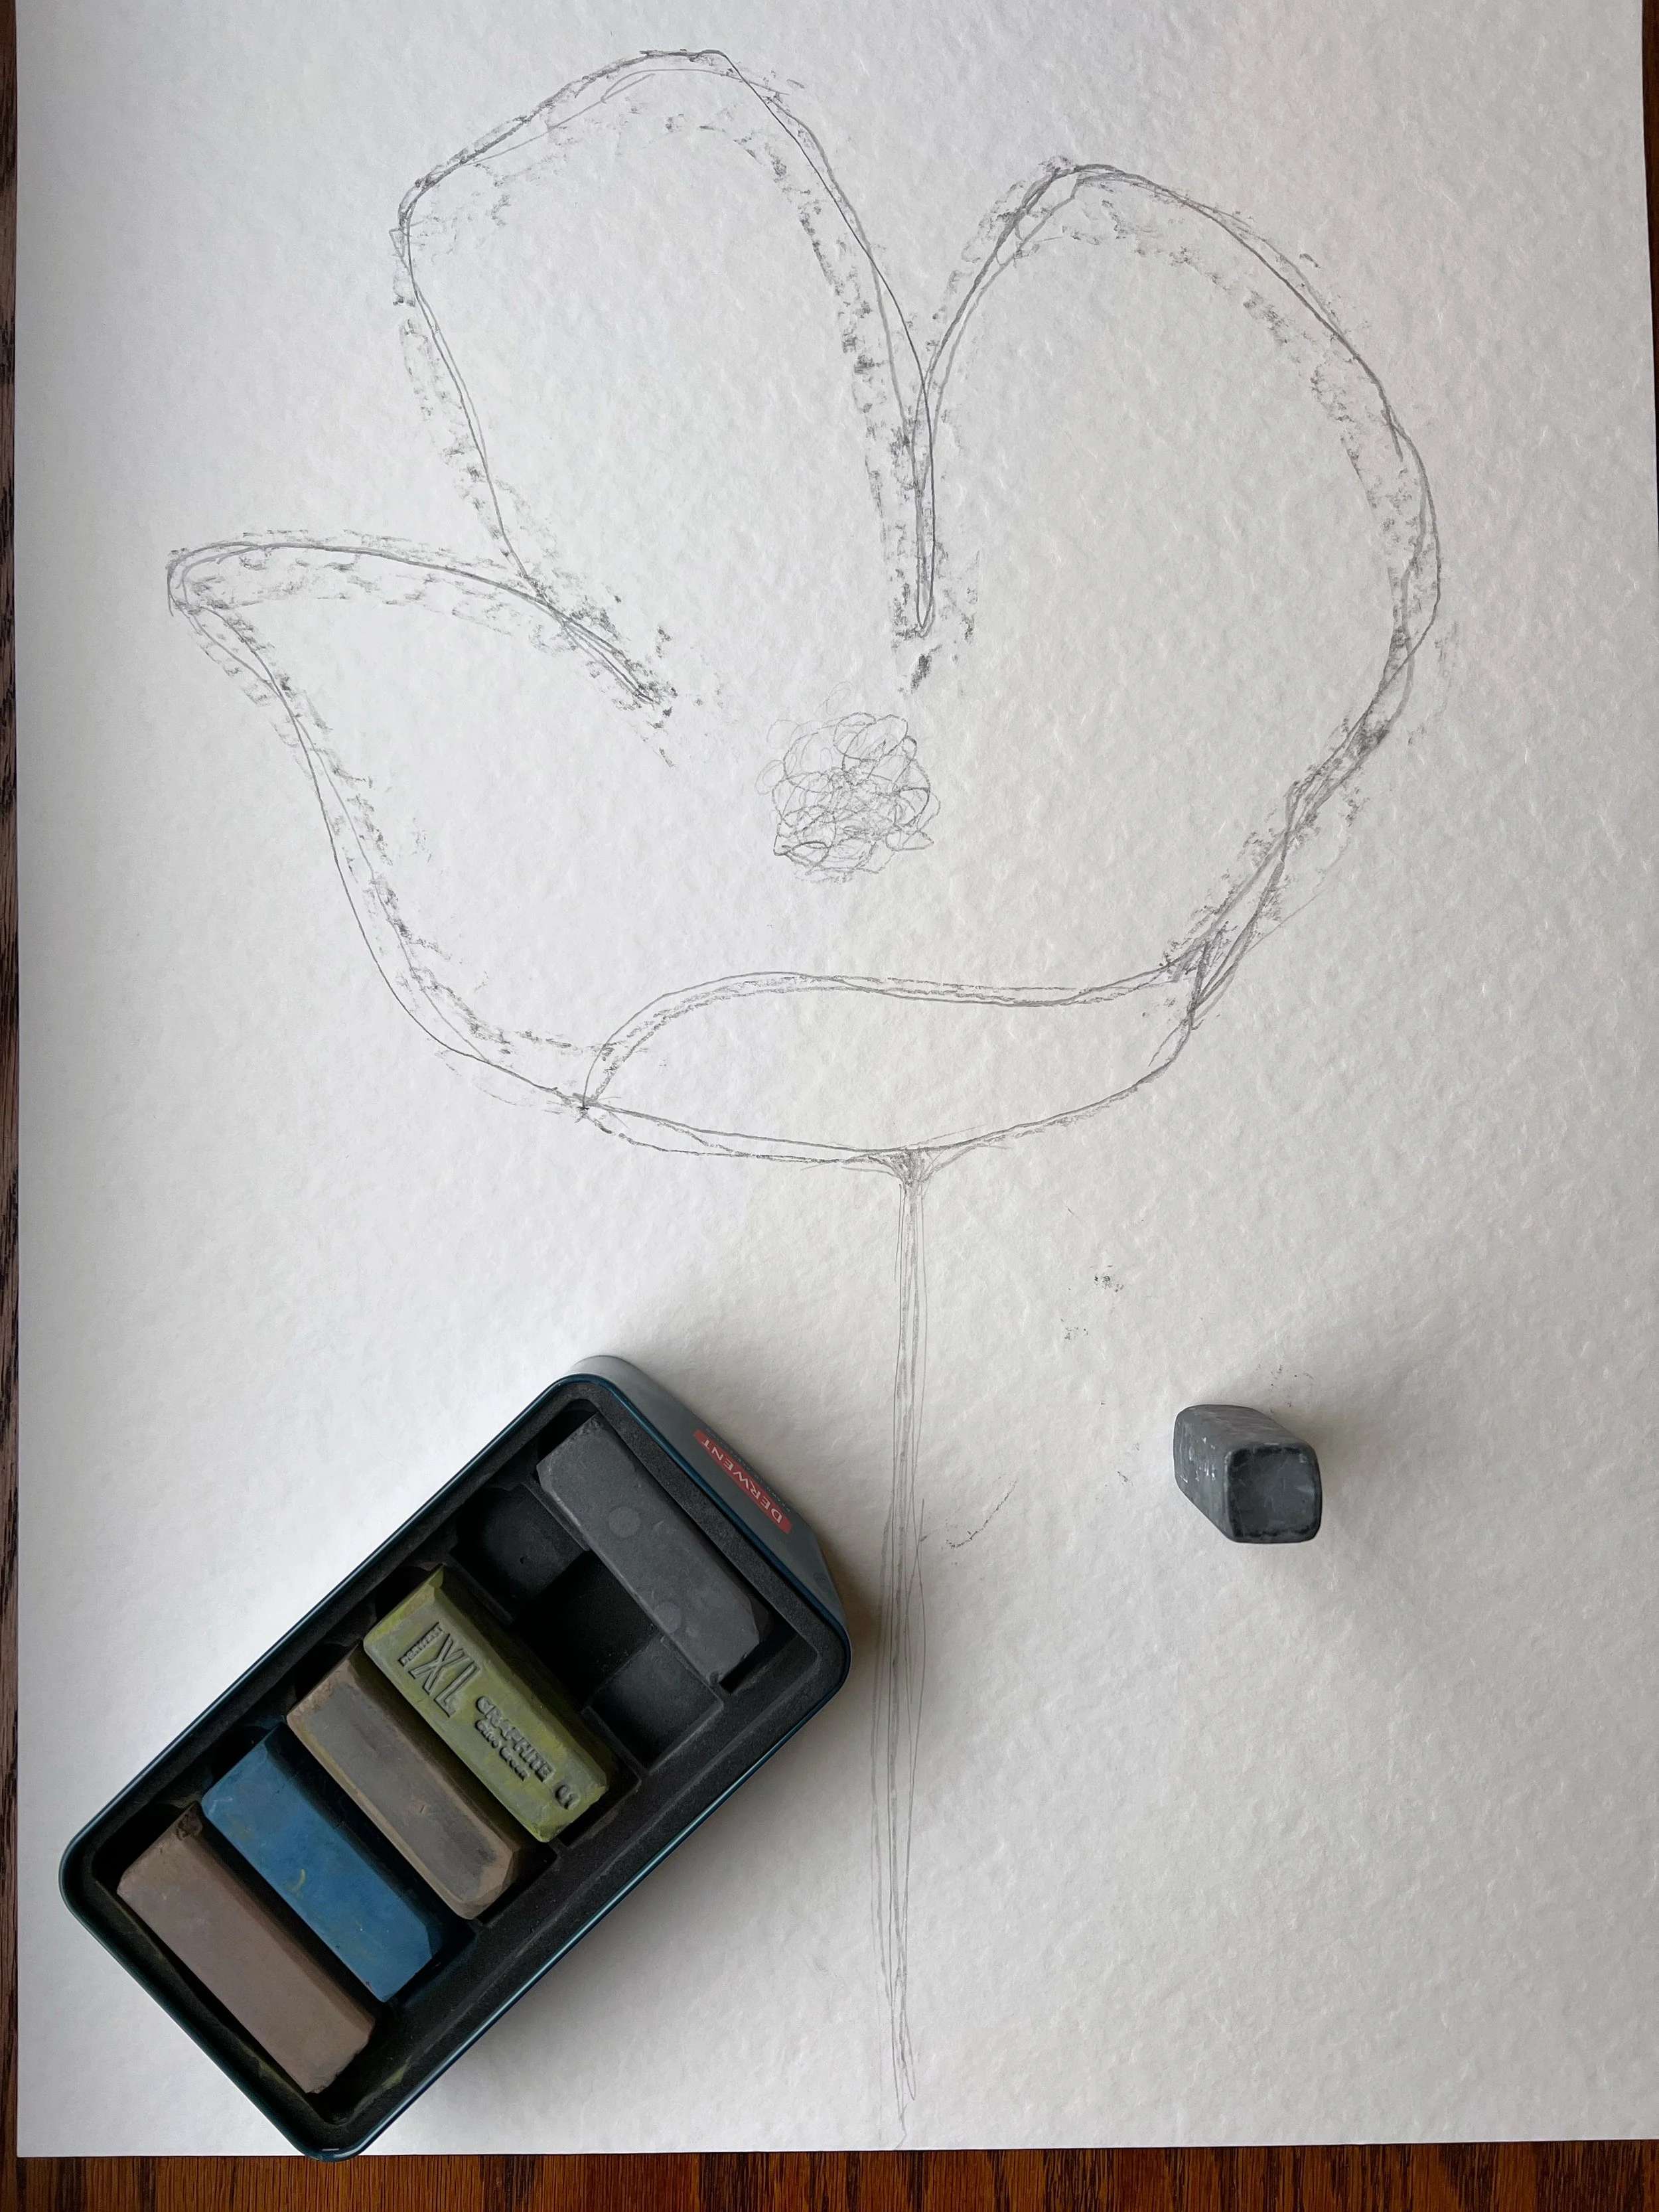
Layer 2. Graphite Mark Making. I used a variety of graphite mark making tools. My mark making tends to be words gathered from books or the world around me. Often the words turn wild and loose.

Graphite Mark Making Tools
The marks created

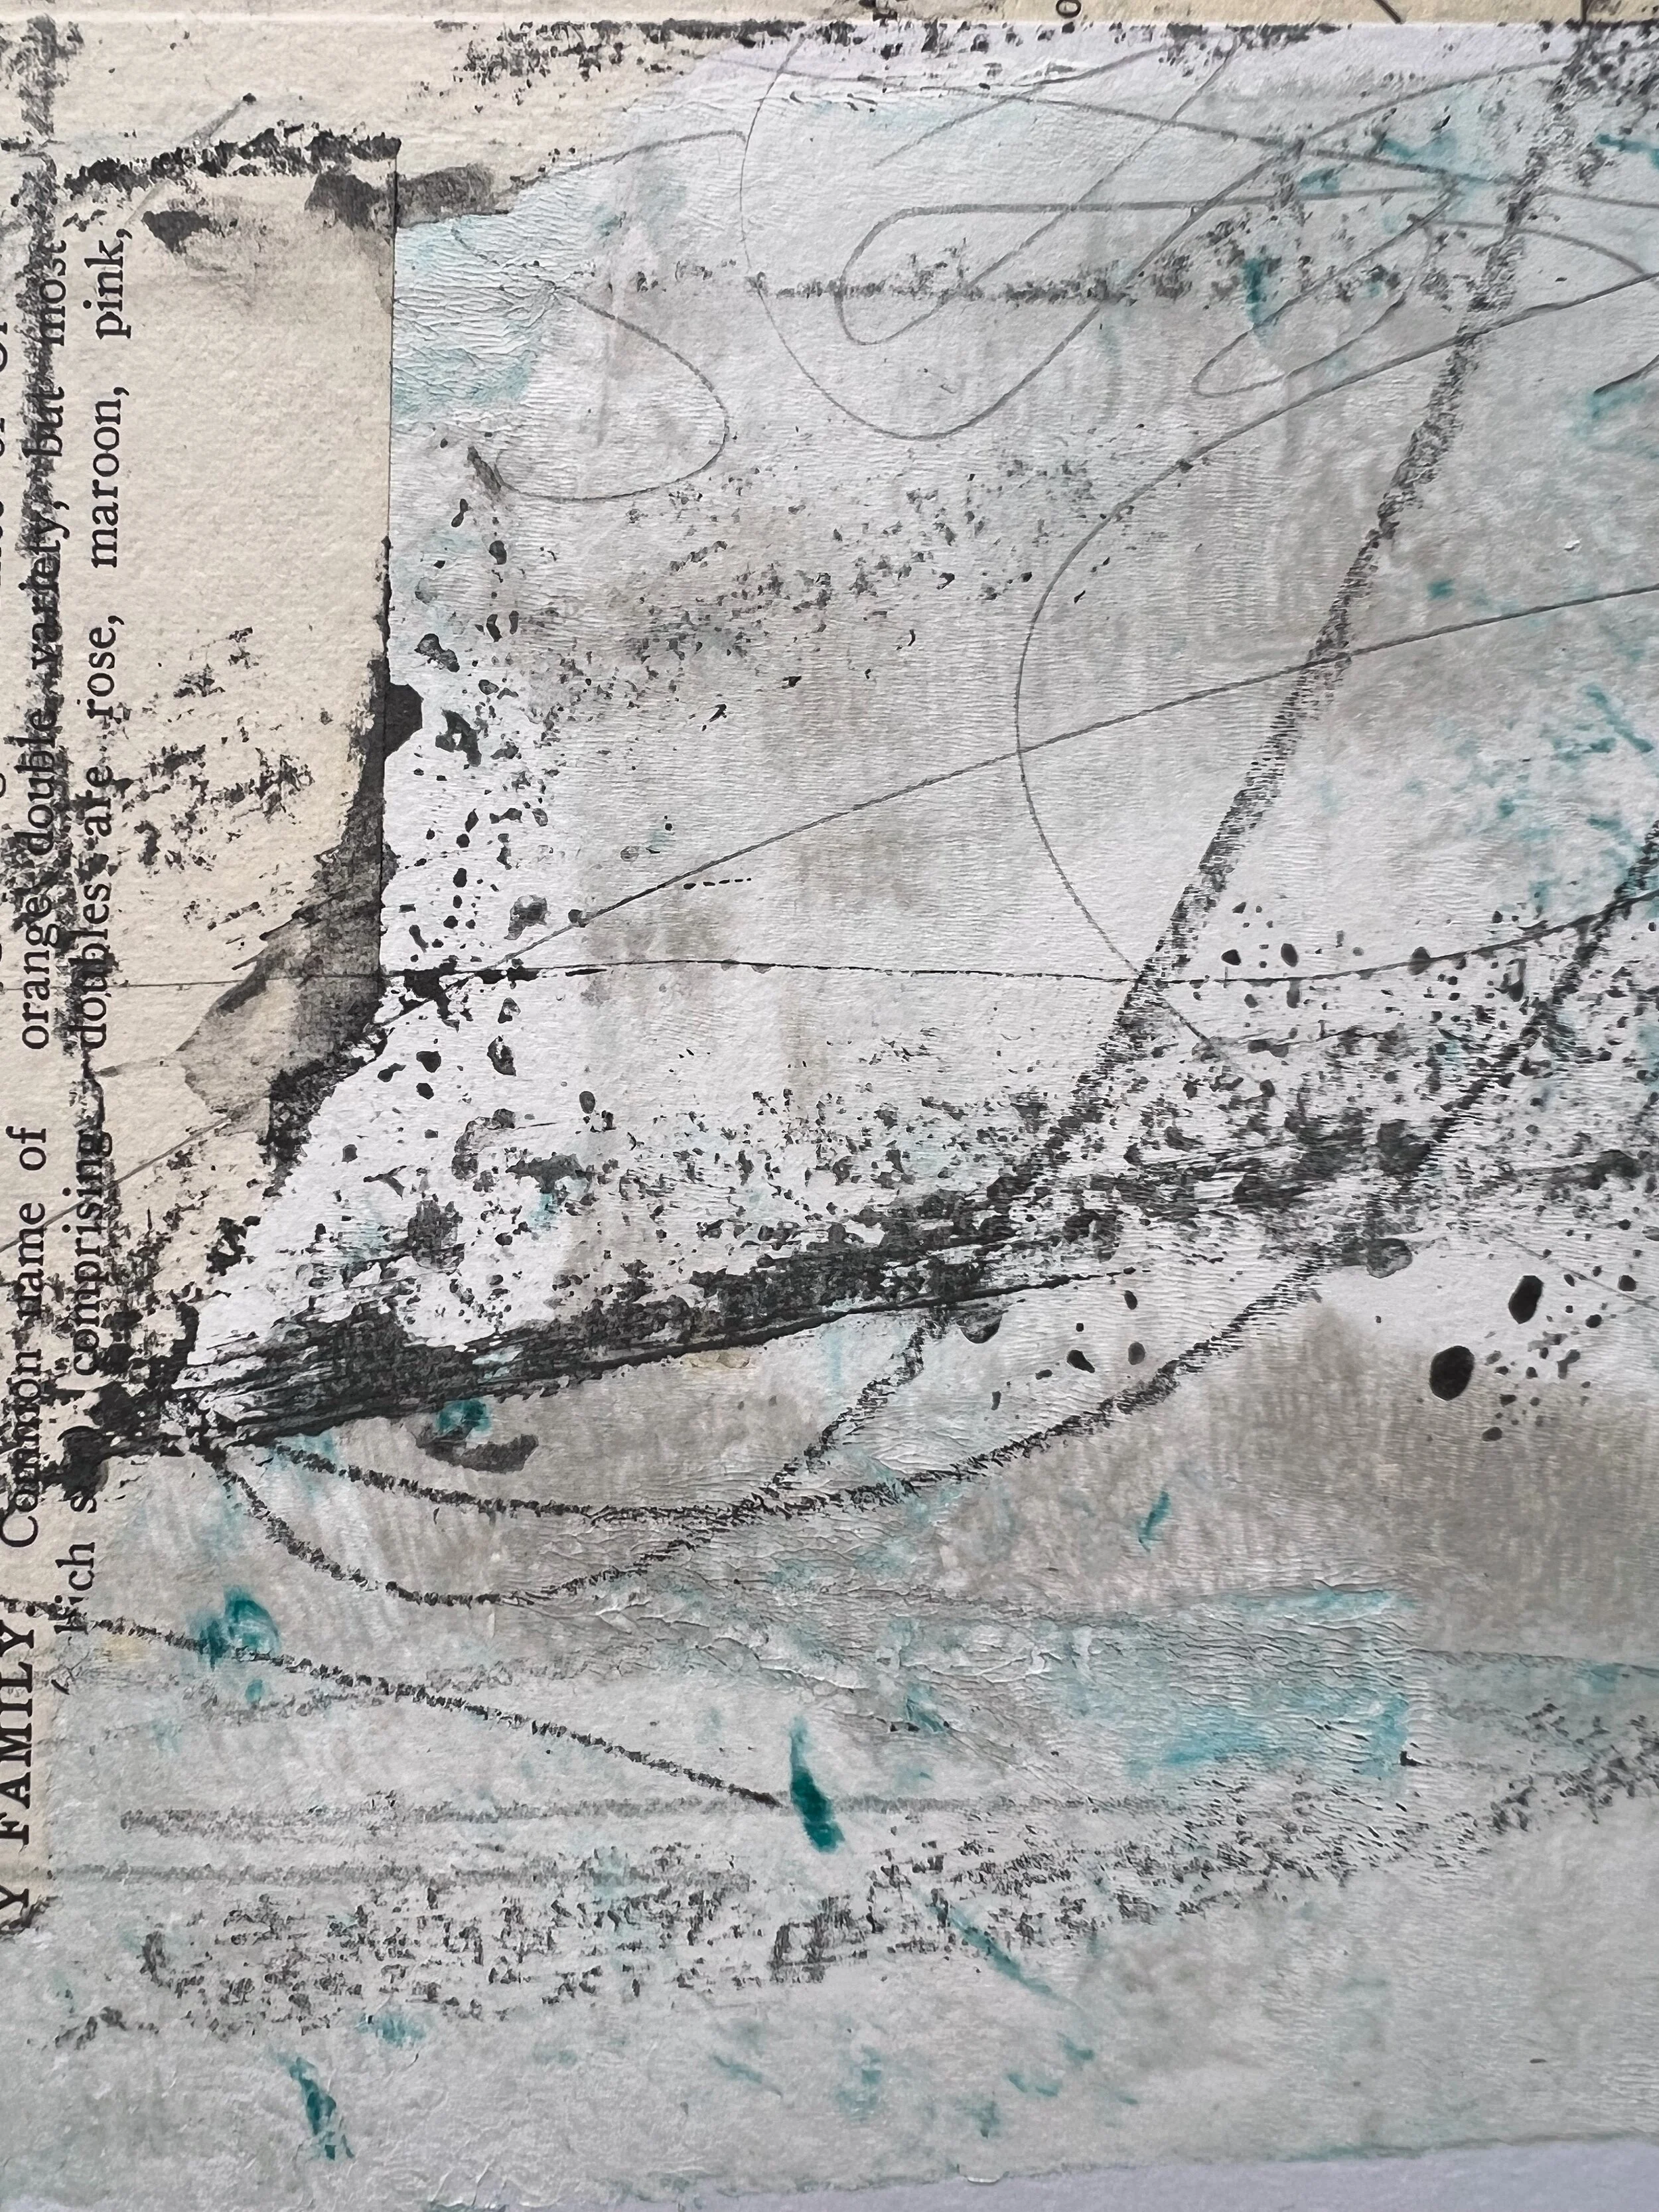
Layer 1. It is all about collage. I have added some sewing patterns, pages from an arithmetic book, some gelli plate prints on copy paper, tissue paper, and a drawing I did with colored pencil a couple years ago.